The wedding is tomorrow. Your outfit is ready, your jewellery is packed, and your mehendi has just been removed. You look at your hands—and your heart sinks a little. Where is that gorgeous dark-brown colour you saw in the photographs?
If you’ve ever experienced this, you know the feeling. You spend hours getting a beautiful design, only to wonder whether the colour will turn out the way you imagined.
Then someone says, “Don’t worry, it will get darker.” Someone else suggests a home remedy. Your phone is suddenly full of videos promising darker mehendi overnight.
But what actually works? And why can the same design look stunning in one photograph and surprisingly different in real life?
Let’s talk about what really happens after your mehendi artist puts down the cone—and what you can do to get the most out of your design.
1. The First Look Can Be Misleading
You remove the dried paste, look at your hands and see an orange stain. Your immediate reaction is to compare it with the rich brown colour you wanted.
Here’s what you need to know: natural henna usually starts orange and gradually develops into a deeper reddish-brown over the following 24–48 hours.
The colour develops after the paste is removed, so the first look isn’t the finished result.
This is why timing matters, particularly for brides. If your wedding ceremony is the next morning, you may have less time for the stain to develop than someone whose event is two days away.
Rather than waiting until the last minute, plan your mehendi appointment around your celebration. Ask your artist how much time to allow for application and colour development.
And if your stain looks orange immediately after removing the paste, don’t assume the application has failed. Give it time before judging the result.
2. The Picture You Saved May Not Show What You Think It Shows
Let’s be honest: when you search for bridal mehendi inspiration, you aren’t usually saving photographs of freshly applied orange stains.
You’re saving the beautiful ones—the deep colour, the intricate patterns, the perfect lighting and the jewellery that makes the whole design look even more stunning.
But there’s something those photographs don’t always tell you: when the picture was taken.
A photograph captured two days after application will look different from one taken immediately after the paste is removed. Lighting also plays a role. Warm indoor lights can make reddish tones appear richer, while bright daylight may show a lighter-looking stain.
Phone cameras and filters can change the appearance of colour, too.
So, when you find your dream design, look beyond the shade. Check the pattern, the placement, the coverage and the artist’s work across several photographs.
If colour matters to you, ask to see examples of the same artist’s mehendi after the stain has developed.
A reference photograph should help you explain what you love—not create an expectation that your skin must reproduce an identical result.
3. Why Is Your Friend’s Mehendi Darker Than Yours?
You and your best friend get mehendi done together. You choose similar designs, use the same artist and follow similar aftercare.
The next day, her hands look darker.
Of course, you notice. You compare your fingers, inspect your palms and wonder whether she knows a secret you don’t.
The truth is that henna stains can vary between people and even between different areas of the same person’s body.
Palms and fingertips often develop deeper stains than areas such as the forearms. The paste, application, contact time, skin characteristics and aftercare can all influence the result.
That means your friend’s colour isn’t a reliable measurement of how your mehendi should look.
Instead of chasing someone else’s shade, focus on choosing a suitable product, working with a trusted artist and following appropriate aftercare.
A beautiful design doesn’t become less beautiful just because another person’s stain is darker.
4. The Mehendi Cone Matters, but Not in the Way You Might Expect
Have you ever seen an artist create incredibly fine lines, tiny flowers and intricate bridal patterns without a single detail looking messy?
That precision comes from practice and technique. The paste also needs to be suitable for the job.
A Mehendi cone with an appropriate consistency helps the artist control the flow of paste. If it is too runny, lines may spread. If it is too thick, fine detailing can become difficult.
Freshness and product quality can also influence staining performance.
When choosing a cone, look for clear ingredient information and buy from a trustworthy seller. Be particularly cautious about products marketed as black henna, because some contain added chemicals that can cause serious skin reactions.
Traditional natural henna generally produces a stain that develops gradually, rather than an instant jet-black result.
Remember, a cone that is easy to use can help with application, but it cannot guarantee a particular colour on every person’s skin.
5. Bridal Mehendi: The Mistake of Leaving Everything Until the Last Day
There is always so much happening before a wedding. Clothes need alterations, jewellery needs organising, relatives need updating and somebody is inevitably asking about the next function.
Amid all this, mehendi can become another item to squeeze into an already crowded schedule.
That is when expectations and reality can clash.
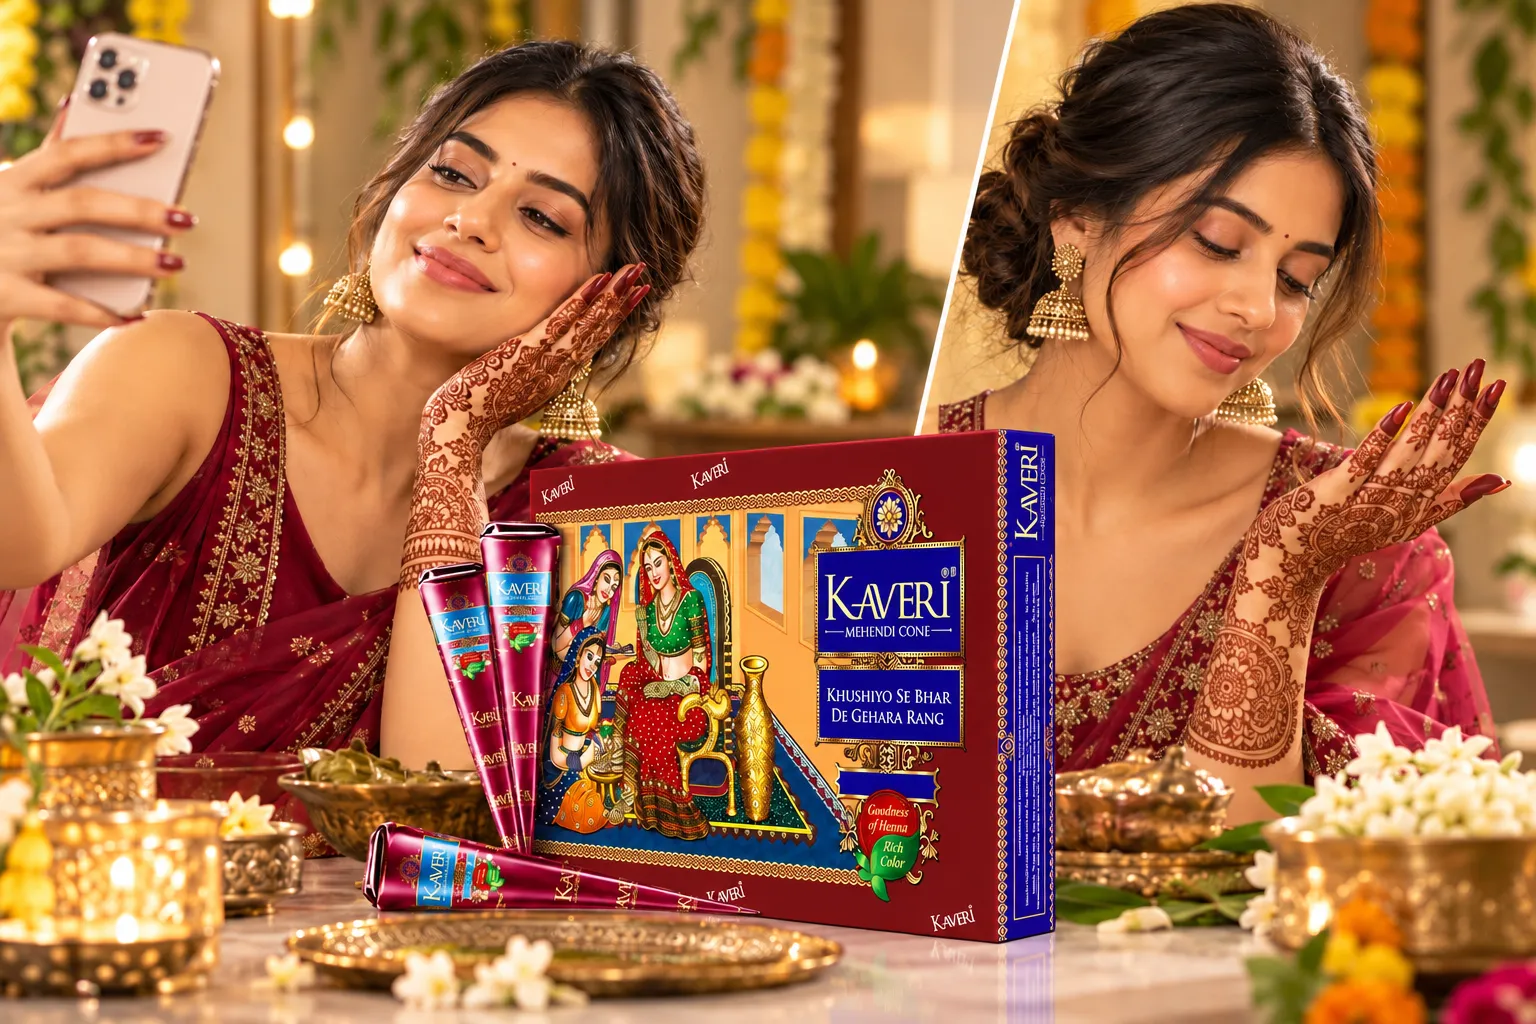
An instant mehndi cone for bridal may make applying the design convenient, but it doesn’t mean the natural stain will develop instantly. A Henna cone is simply an application format; the paste’s ingredients, freshness and consistency influence the experience and result.
If you’re planning bridal mehendi, discuss the schedule with your artist before booking. A detailed design may take several hours, and the stain needs additional time to develop.
Think about the date of your main ceremony, how elaborate your design will be and when you need your hands ready for photographs.
The goal isn’t just to finish the application. It’s to give yourself enough time to enjoy the result without spending your wedding morning worrying about the colour.
6. Making Mehendi at Home? Read This Before Buying the Powder
Preparing traditional mehendi paste at home can be satisfying, but choosing the right product is an important first step.
Henna Powder is commonly used to prepare henna paste. Check that the product is intended for body-art application, read its ingredient information and follow reliable preparation instructions.
Do not assume that every product labelled henna is suitable for every purpose. Powders intended for different applications may have different formulations and directions.
Freshness and storage also matter. If a product has been stored poorly or is past its recommended use period, it may not perform as expected.
And please don’t add unlabelled chemicals simply because someone online claims they will make the stain darker. A dramatic colour promise is not worth risking a skin reaction.
The smartest choice is a suitable product with clear information—not a packet making the biggest promises.
7. The Aftercare Advice Worth Following—and the Tricks Worth Skipping
Once the paste is removed, advice starts arriving from everywhere.
Someone recommends a homemade mixture. Another person insists that a particular trick guarantees dark mehendi. A third person suggests trying several things together.
But more remedies don’t necessarily mean better results.
Instead, keep things simple:
- Follow the recommended application time.
- Remove dried paste gently rather than scrubbing your skin.
- Allow the stain time to develop before judging its colour.
- Avoid excessive friction and repeated exfoliation, which can make the stain fade more quickly.
- Follow your artist’s or product manufacturer’s aftercare instructions.
Avoid harsh chemicals and unlabelled mixtures intended to force a darker colour. They can irritate your skin without guaranteeing the result you want.
There is no universal shortcut to a particular shade. Good products, appropriate application and sensible aftercare give you a better foundation than experimenting with every tip you find online.
8. Want Your Mehendi Photos to Look Better? Photograph the Design, Not Just the Colour
Sometimes, the problem isn’t the mehendi. It’s the way the photograph presents it.
If you want to capture your design beautifully, use soft natural light and a simple background. Take close-up photographs of intricate patterns, along with wider pictures that show the overall design.
Avoid strong filters if you want the stain colour to look realistic.
Here’s a particularly useful idea: photograph your mehendi immediately after removing the paste, then photograph it again after 24–48 hours in similar lighting.
You will be able to see how the colour develops instead of comparing two unrelated photographs from the internet.
If you’re choosing a bridal design, share your reference images with the artist and explain what you like about them. Is it the floral detailing, the full-hand coverage or the overall appearance?
That conversation helps your artist understand your expectations more clearly.
The Final Take: Don’t Let a Lighter Stain Ruin the Entire Experience
Your mehendi doesn’t have to match a photograph perfectly to be beautiful.
The colour develops over time. Lighting changes what you see. Different areas of the skin may stain differently, and the quality of the paste and the way it is applied can influence the result.
Choose your design because you love it. Select a suitable product, plan your appointment carefully and give the stain time to develop.
Most importantly, don’t spend your mehendi day comparing your hands with edited photographs or somebody else’s result.
You chose the design because it made you happy. Give yourself the chance to enjoy it before deciding whether the colour is dark enough.